It is only fitting that the first post on this blog is a coffee review on a Tim Wendelboe roast – after all, a huge factor behind me diving into this deep rabbit hole is tasting a spectacular Kenyan coffee from them.
Before we dive into the actual coffee review (and my personal rants), let’s take a look at what the man himself has to say about this Columbian coffee coming from one of the farms that is now almost synonymous with his business.
“If you were a cow, you would love this coffee, hehehehe haha…”
Subscription Coffee Tasting – May 2025 (TW YT channel video)
The Coffee
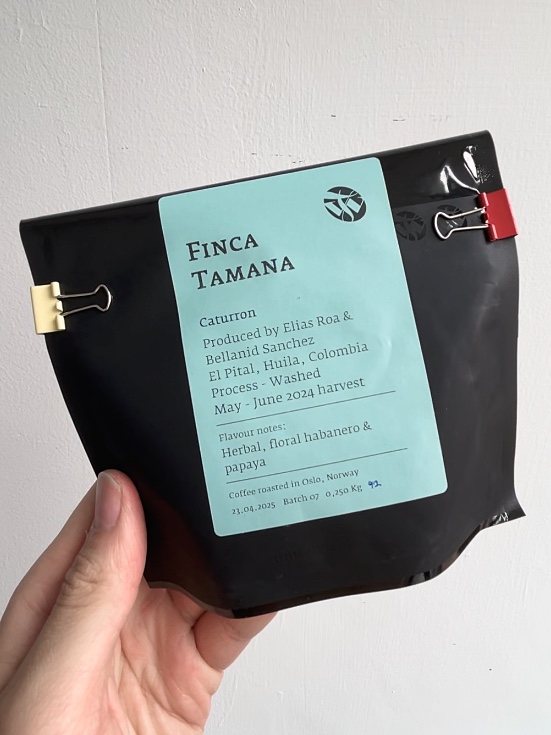
Within the recent offerings from Tim Wendelboe (denoted as TW for the rest of this post), this washed Caturron is what interested me the most.
On their website’s product page, the introduction for Caturron is “a local Colombian cultivar discovered in Huila. I (Tim) sent a small sample of green beans from this cultivar for DNA testing two years ago and the results suggest it is a crossing between Hibrido de Timor (Arabica x Robusta) and Bourbon or Caturra. This means it is genetically very similar to Variedad Colombia but the Caturron cultivar is both different and very uniform with distinct oblong beans and it is showing good resistance against leaf rust.”
So we know that this is (kinda) a “resistant varietal”, possibly a “varidad Columbia 2.0”. One usually implies that “resistant varietals” can be a bit lacking in flavor potential, due to the heavier lean towards the Timor (heavily Robusta influenced) bloodline.
However, the flavor descriptor for this one is: Herbal (a norm in TW flavor descriptors), floral habanero (so interesting, I devoted an entire section in this post for it), and papaya (a familiar fruit for a guy who grew up in the tropic region). Doesn’t seem dull at all.
Also, when planning my purchase, this was the only coffee that is both offered as a filter and an espresso roast. Since I’m interested in comparing the 2 roast style differences coming from TW, I figured that getting the Tamana Caturron in both filter and espresso would be the best and most controlled way to give me some more valuable insights (details of the roast comparison are for another post).
The Beans
After ordering (not a subscriber of the subscription offering from TW, so I pooled my 2 bags together with some other friends’ order), the beans arrived within a week.
The roast date is Apr 24 2025, and after resting it for a full 2 weeks, I started brewing.
But one more thing has to be done before the actual brewing starts:
Data Collection
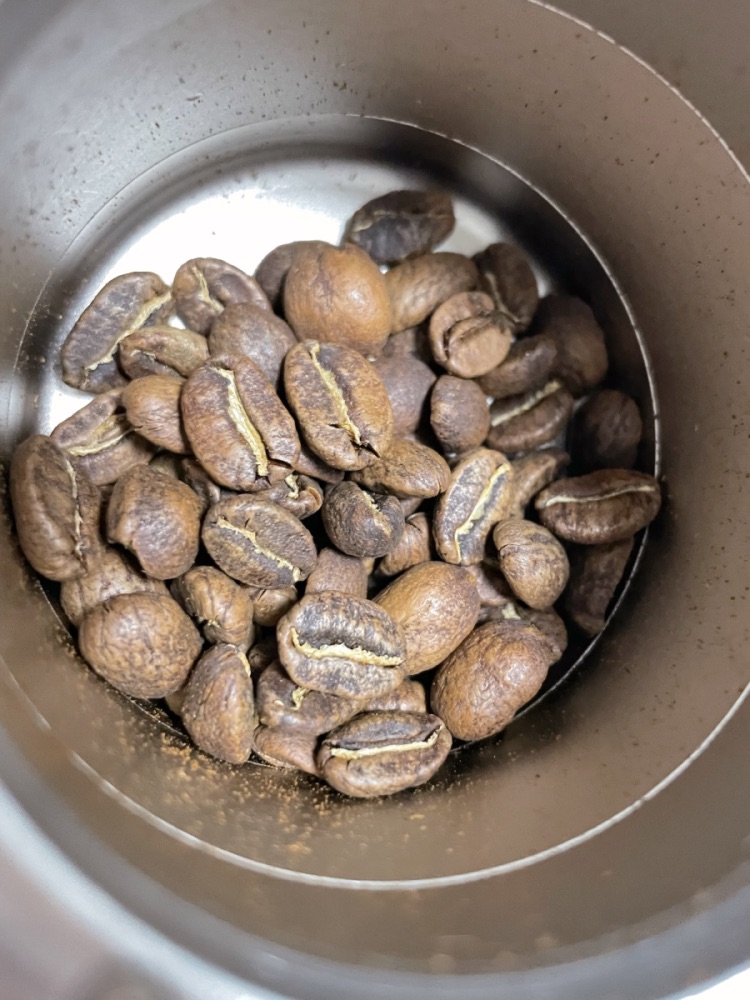
Ever since I started roasting (as a hobby and for personal consumption), I kind of built up a habit to measure the “ground color” of the different coffees from all different roasters around the world that found its way onto by brew counter.
The “ground agtron reading” for this TW Tamana Caturron is 83.8, measured using my own standard color reading measuring protocol.
More details about the “ground agtron reading”
For those not familiar with color readings, it is basically a value that describes how “dark” the ground coffee is, color-wise; Note that the smaller the number, the darker the coffee;
To give some useful reference points, on my particular color reading system and under my particular measuring protocol :
*traditional dark espresso roast could be in the 35~45 range,
*beans dropped upon hearing the very start of 1st crack could be in the 95~115 range, and
*George Howell light roasts are usually in the 70~76 range (throwing George Howell in here for random comparison 🙂 )
Details and the reasoning behind my standard color reading protocol design is definitely for another post,
but shortly speaking, it involves a calibrated color reading device, a calibrated grind setting on one particular grinder, and several runs of the actual testing performed in a consistent way to give us data readings that would be averaged for final results.
The Brew
One thing I seldom fuss too much about nowadays is the brewing method. After trying numerous recipes and playing around for almost 2 years, my taste preference has guided me to settle down on:
1. Finer grind settings:
starting out as a die-hard Tetsu Kasuya 4-6 method believer, as I go deeper into this rabbit hole and the coffees I brew starts to get “lighter” (color reading-wise, not necessarily flavor development related), I generally find that a finer grind setting together with proper brewing methods enables me to get a cup that is sweeter but still clean/transparent and can give me “the whole picture” of the flavors and flavor potential of the coffee.
Here “finer” means “definitely finer than what’s recommended for the 4-6 method, finer than the standard cupping grind, probably a bit finer than the average current pour over grind settings, but absolutely nowhere near espresso grinds” (I’ve tried going espresso level fine, but didn’t like the overall result).
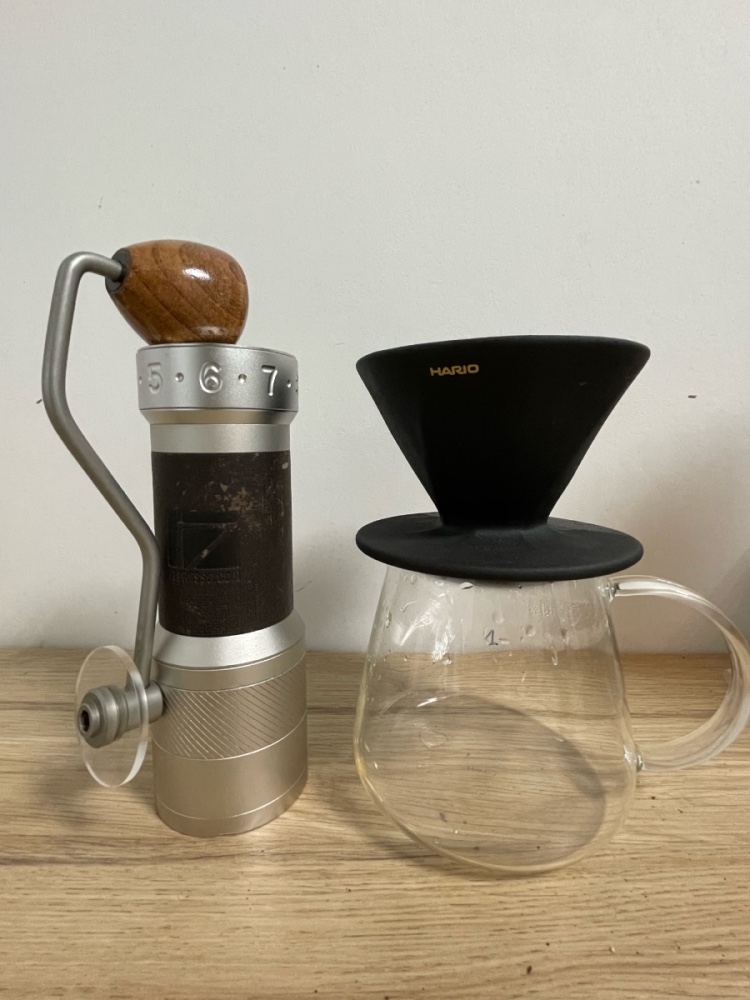
2. Conical brewers + smaller dose:
Particularly, conical brewers/drippers that have a “groove” design, as of the new Hario Alpha brewer or the CT62 dripper or the UFO dripper, are what I personally would recommend.
It seems like the current trend is leaning heavily towards flat bottom drippers (especially for the modern, super bright & juicy, have to have a 23%+ extraction (or so they say) light roasts). But for me, I found the conical brewers to be more forgiving and generally easier to use.
Also, there is much more option for conical filter papers and the price is usually much cheaper (per filter paper, on average) AND easier to get. So for the foreseeable future, I’ll probably stay here and live comfortably in camp conical brewers.
By using a smaller dose together with a “dent” in the middle of the ground coffee, I could get away with the inherent disadvantages of a conical-shaped coffee bed and still harvest the benefits of a more forgiving brewing system and (usually) less chance of a “stalled” brew.
“What’s the inherent disadvantages of a conical brewer??”
The main arguing point that conical brewers are inferior and flat bottom brewers/drippers are superior is that “the coffee bed depth in a flat bottom brewer is more even” and hence “the overall extraction will be more even”.
After experimenting, reading up on others opinions, and watching some guy pour water into a bunch of cut-in-half brewers on social media, I think this is partially true. Conical style brewers do have some inherent disadvantages when it comes to the evenness of water saturation throughout the ground coffee bed, especially at the start or the “blooming phase” of brewing.
However, starting from the second pour (the pour after the blooming pour), the coffee bed doesn’t behave as we imagined, especially when turbulence and agitation (by the pouring or by human intervention via other tools/gadgets) are introduced,
and hence the seemingly straightforward thinking being that “a flat bed brewer allows a flatter coffee bed -> more even bed depth -> definitely more even percolation through the grounds” might not necessary be true.
One particular scene of application where I found a flat bed to truly out-perform a conical brewer is when trying to brew using the “low / no-agitation” style recipes.
When one whip out their Melodrip and decide to go the no-agitation way, they are now creating a more “ideal” brewing condition that resembles our imagined scenario in which the flat and even coffee bed of the flat bed brewer clearly yields a more even extraction results.
3. Lower temperature initial “blooming”:
From trial & error with several grinder/dripper combinations, I came to the conclusion that I prefer the taste that a lower temperature “bloom” produces, no matter the equipment involved.
So when brewing, I’ll prepare a kettle set at my brewing temperature as most would do, and also prepare another small gooseneck kettle (one that doesn’t need to have any temperature control) with cooler brew water in it (sometimes as cool as room temperature) and use that for the initial phase of brewing (the bloom). After that, I’ll switch back to using my “normal” kettle for the rest of the brew.
4. Strict on overall brew ratio, Not (too) strict on brew time:
Since nowadays I mostly do 2 pours only (bloom, wait, and pour the rest of the water and wait some more), I found that being strict on the brew ratio is THE KEY to more consistent brews (of course, here we are dealing with same grind size, same coffee).
I used to get nervous when the draw down of a brew seems to be “running X seconds slower than it should” and argue that “keeping the extraction time / ground and water contact time” identical is theoretically the most important aspect of consistent brewing.
I’ve even tried to experiment and create a slight difference in draw down on the same coffee/same grind and cut off the slower-flowing one at the same time when the faster-flowing cup finished extraction, dilute the slower-flowing cup to similar TDS of its faster-flowing counterpart, transfer both brews into cups at different temperatures (to compensate for the inevitable different liquid temperatures between the two experiment samples), and then taste and compare to see if “keeping the brewing time identical” is of such importance.
And here I can tell you, it isn’t (At least it shouldn’t be your top concern).
By following a similar brew ratio, keeping the grind quality similar enough, and have good control over your brewing water, one can recreate brews pretty decently without needing to fixate over your brew time.
TL; DR:
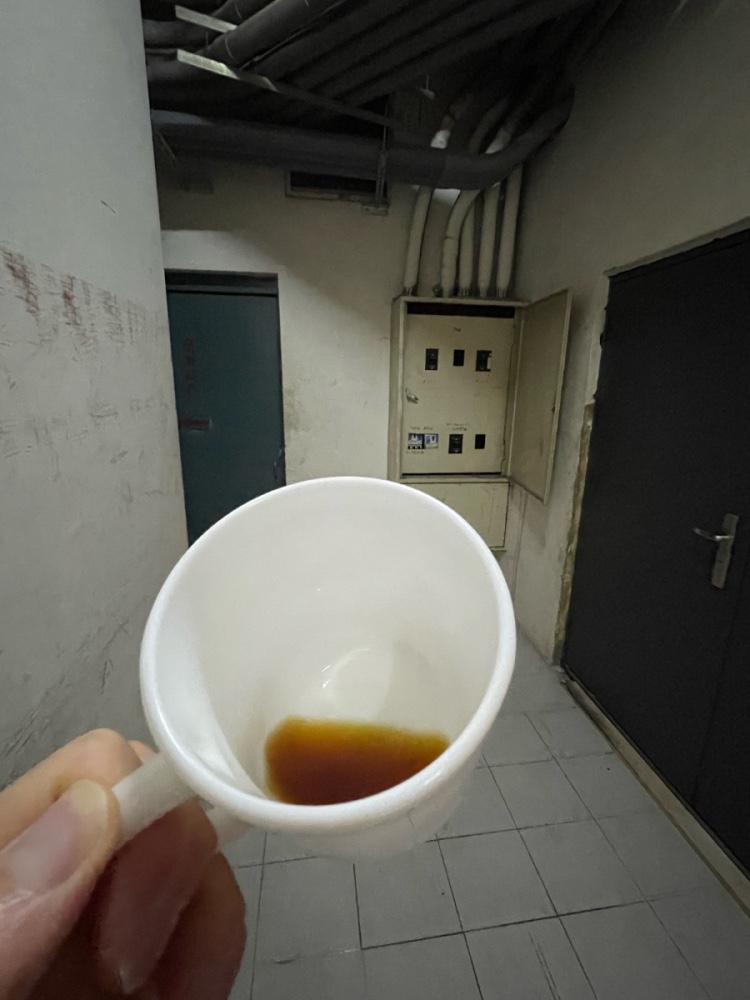
I continue to brew up the Tamana Caturron using my current filter recipe, and then tasted and wrote down the results.
The Experience
The Aromas
For the brewed aromas, I instantly found some “floral habanero” (more on that in the following section), some mixed yellow-toned tropical fruits (such as ripe pineapple, jackfruit, mango, papaya…etc), and a pleasant matcha power-ish tea/herbal note lingering in the undertones.
Took a sip, and I figured that the flavor gives a overall more “purple” impression then implied by the aroma, but the tropical yellow-ness is also still there singing high notes, loud and clear.
The herbals/greenish flavors
Green, grassy, and herbal tones are definitely there (something I personally think Mr.Wendelboe actually enjoys).
For me this is a positive flavor attribute, with some impressions of green bell pepper (but since I grind finer & extracted some more, this isn’t that obvious compared to what I picked up during a previous cupping session) & green-ish melon / water melon / melon peel notes.
Papaya milk
For the papaya flavor note on the bag, growing up & living in a tropical environment with plenty of papayas, I can say this one’s a “sort of accurate” description.
The later-stages & aftertaste do have a sensation similar to what you will feel inside your mouth just after you eat ripe, sweet papayas.
Part of the aroma together with the type & quality of the acidity, and more importantly, the “milky, creaminess” of the body of the coffee liquid, do contribute together towards a “papaya-ish” flavor.
One of the most unique and interesting aspects of this coffee is the full-fat milk resembling, creamy and rich “milky-ness”. It is SO PRONOUNCED, that during the previous cupping session, someone thinks that we got a not-thoroughly-washed cupping bowl that had contained milk beverages in it before.
The Classic Tim Wendelboe Sweetness
The cup has some classic TW caramel + brown sugar + some nougat kind of sweetness, which I personally found to be something that I didn’t noticed at first but slowly and surely grew fond of.
From a roasting perspective, I found that although being one of the true pioneers of the light roast coffee trend, TW usually doesn’t aim for that “ultra light” roast style which is highly controversial between specialty coffee drinkers. Instead, he would trade in some of that “brightness, aroma, and tanginess” for his classic interpretation of “a sweet cup” (without actually being that much darker as shown by ground coffee color measurements).
This is also why when I share coffee with non-light / ultra light roast drinkers, generally the most accepted (or less hated?) cups are the ones from TW.
Lastly, this cup got some peach juice & milk chocolate-like finish, and a bit of an “ovaltine” aftertaste. The last sip has a bit of “dried figs” note, also.
“Floral habanero”
I honestly have no idea what “habanero” is the first time I heard/saw this word. So, to put more perspective into the flavor descriptors given by TW on the bag (well, actually judging from his video the one who first came up with this descriptor is someone that works at NOMA)(a fine dining thing, I guess?),
I tried to find something that has this “habanero” thing inside. This is what I came up with:
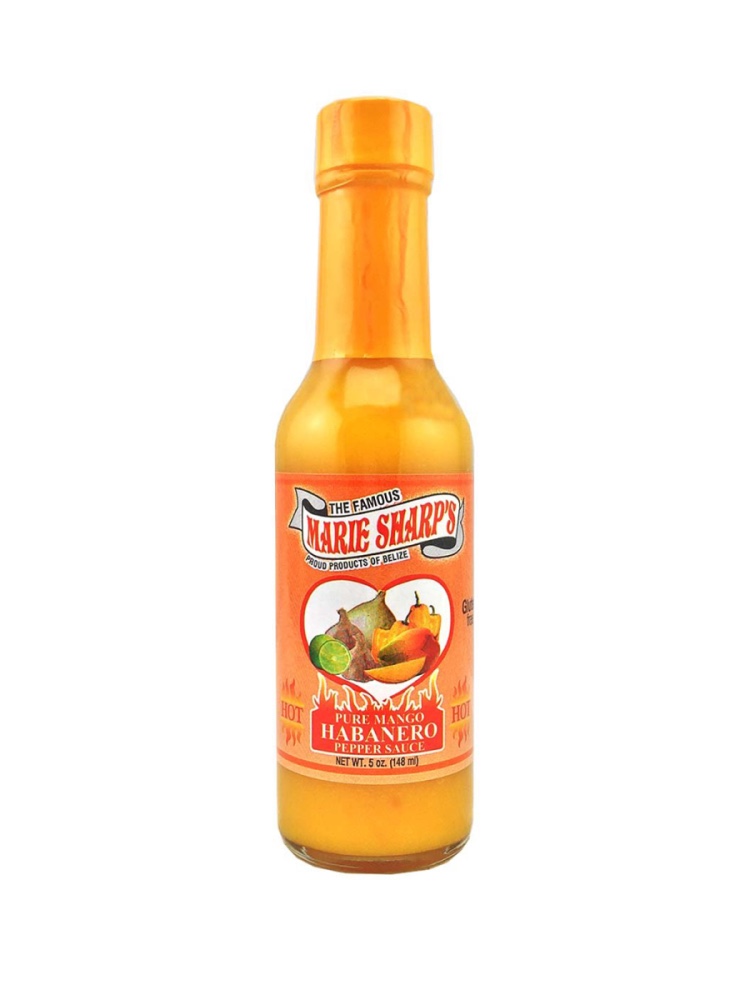
So, even though I’m someone that really couldn’t handle spicy food, I found myself willingly trying this hot sauce that seems to be a household name in Belize.
To my suprise,
1. The sauce isn’t that hot and spicy (it still has a sting to it, but since the internet seems to suggest that habaneros are supposed to be one of the chilliest chillies on the surface of earth, it is a lot better than I’ve expected), and
2. This thing is surely “floral” (BUT in a heavy, pungent kind of way). Also, the floral aroma has a clear “green” undertone, much like a bell-pepper kind of aroma.
Going back to the Tamana Caturron coffee,
the different flavors found in the cup actually do all contribute towards building this “habanero-like” aroma, and even without having much (or any) previous experience with this rather novice taste experience, I found myself agreeing with this particular descriptor whole-heartedly.
So, maybe if you missed out on the Tim Wendelboe Tamana Caturron release, you can at least try adding some Marie Sharp’s pure mango habanero to a staple washed varidad Columbia?